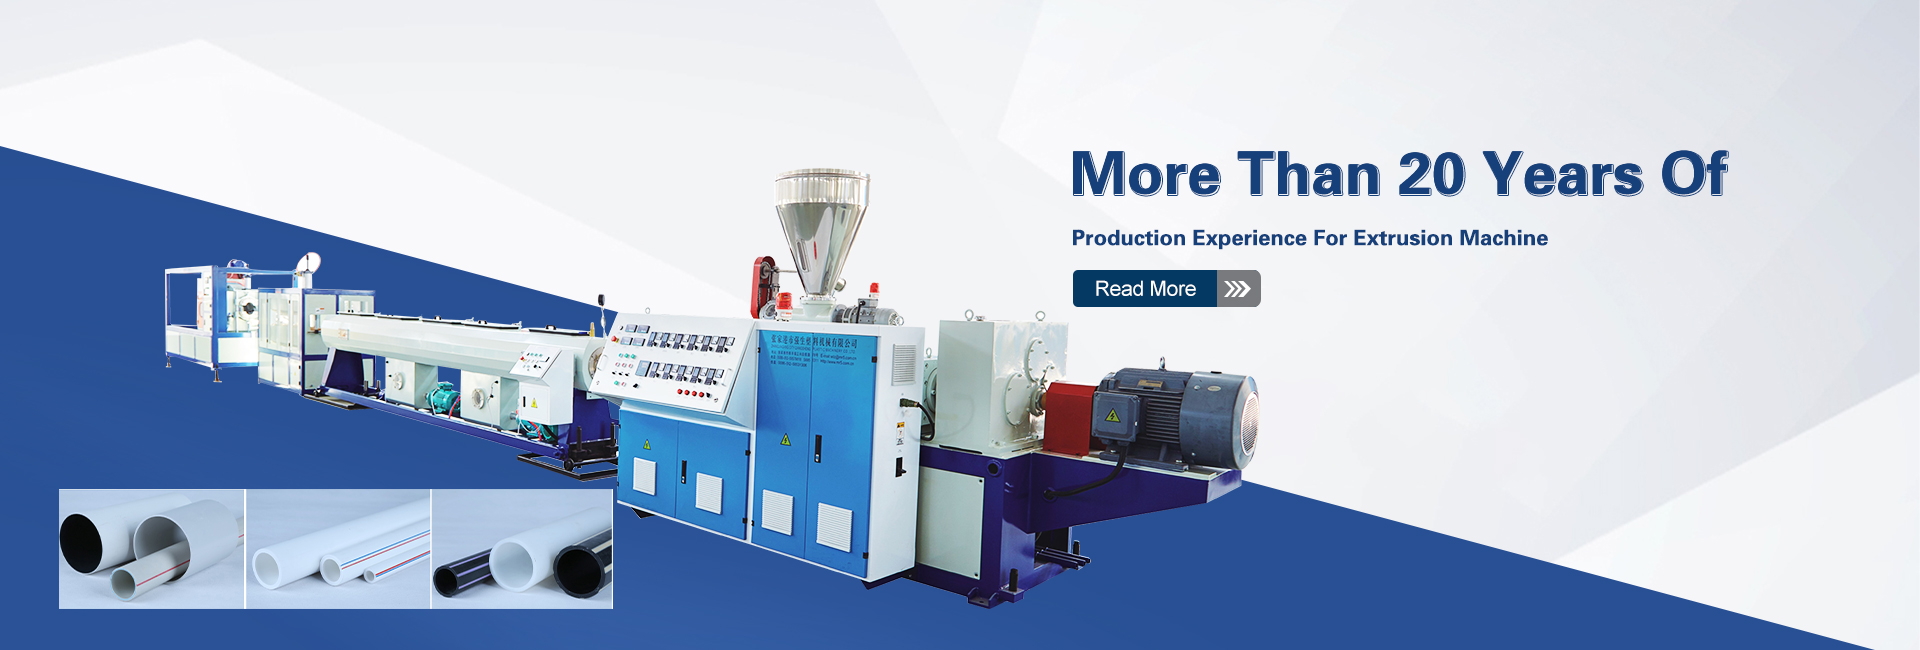
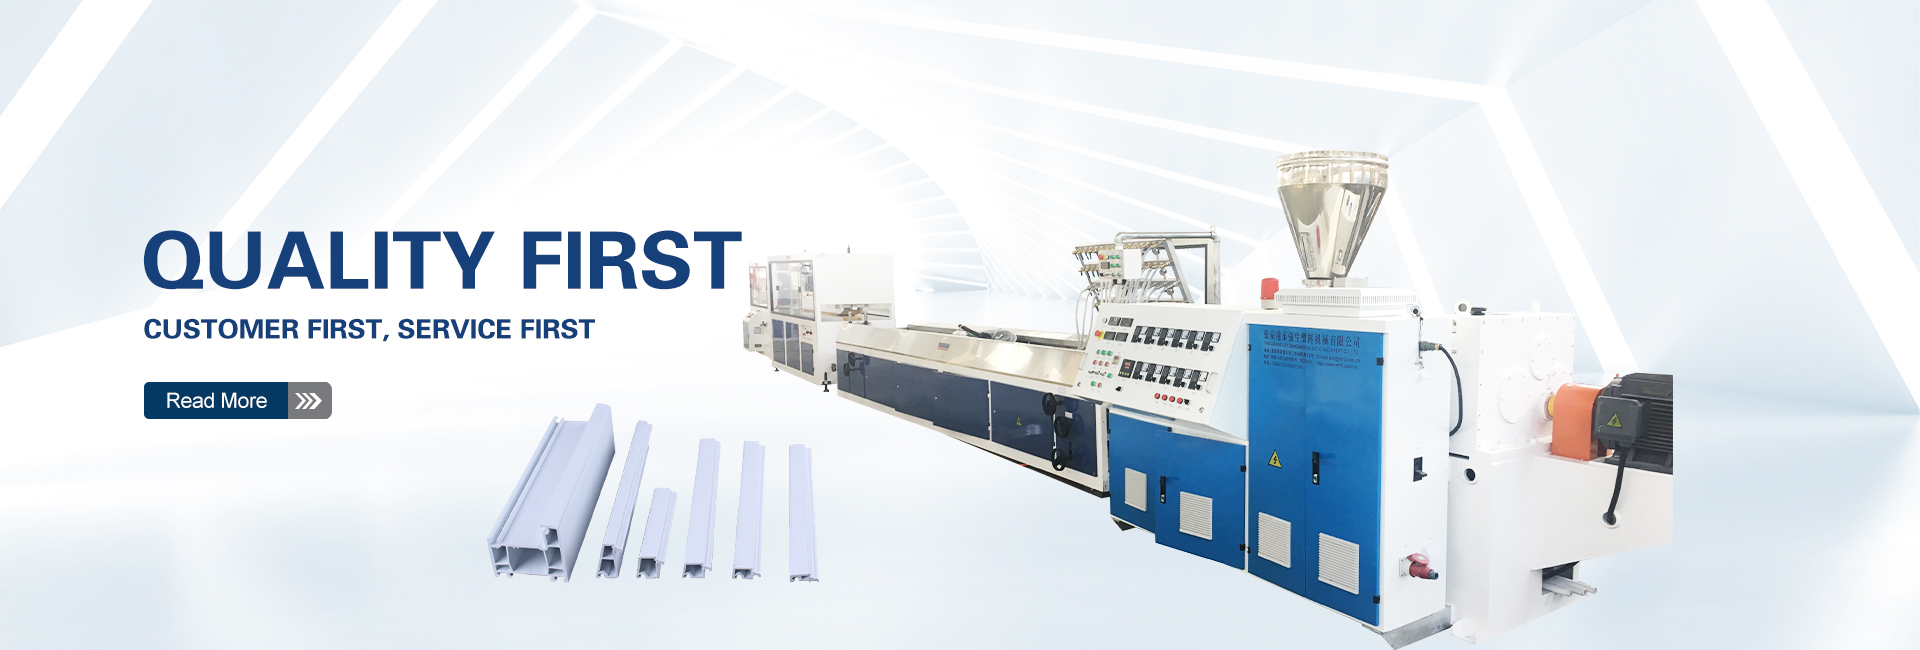
In the realm of plastic manufacturing, plastic extruders stand as the workhorses, transforming raw materials into a diverse array of products. However, before these machines unleash their transformative power, a crucial step is often overlooked: pre-operation preparation. This meticulous process ensures that the extruder is in top condition, ready to deliver consistent quality and optimal efficiency.
Essential Preparations: Laying the Foundation for Smooth Operation
- Material Readiness: The journey begins with the raw material, the plastic that will be molded into its final form. Ensure that the material meets the required dryness specifications. If necessary, subject it to further drying to eliminate moisture that could hinder the extrusion process. Additionally, pass the material through a sieve to remove any lumps, granules, or mechanical impurities that could cause disruptions.
- System Checks: Ensuring a Healthy Ecosystem
a. Utility Verification: Perform a thorough inspection of the extruder’s utility systems, including water, electricity, and air. Verify that the water and air lines are clear and unobstructed, ensuring smooth flow. For the electrical system, check for any abnormalities or potential hazards. Ensure the heating system, temperature controls, and various instruments are functioning reliably.
b. Auxiliary Machine Checks: Run the auxiliary machines, such as the cooling tower and vacuum pump, at low speeds without material to observe their operation. Identify any unusual noises, vibrations, or malfunctions.
c. Lubrication: Replenish the lubricant at all designated lubrication points within the extruder. This simple yet vital step helps minimize friction and wear, extending the lifespan of critical components.
- Head and Die Installation: Precision and Alignment
a. Head Selection: Match the head specifications to the desired product type and dimensions.
b. Head Assembly: Follow a systematic order when assembling the head.
i. Initial Assembly: Assemble the head components together, treating it as a single unit before mounting it onto the extruder.
ii. Cleaning and Inspection: Before assembly, meticulously clean off any protective oils or grease applied during storage. Carefully inspect the cavity surface for scratches, dents, or rust spots. If necessary, perform light grinding to smooth out imperfections. Apply silicone oil to the flow surfaces.
iii. Sequential Assembly: Assemble the head components in the correct sequence, applying high-temperature grease to the bolt threads. Tighten the bolts and flanges securely.
iv. Multi-Hole Plate Placement: Position the multi-hole plate between the head flanges, ensuring it is properly compressed without any leaks.
v. Horizontal Adjustment: Before tightening the bolts connecting the head to the extruder’s flange, adjust the die’s horizontal position. For square heads, use a level to ensure horizontal alignment. For round heads, use the bottom surface of the forming die as the reference point.
vi. Final Tightening: Tighten the flange connection bolts and secure the head. Reinstall any previously removed bolts. Install the heating bands and thermocouples, ensuring the heating bands are snugly fitted against the head’s outer surface.
c. Die Installation and Alignment: Install the die and adjust its position. Verify that the extruder’s centerline aligns with the die and the downstream pulling unit. Once aligned, tighten the securing bolts. Connect the water pipes and vacuum tubes to the die holder.
- Heating and Temperature Stabilization: A Gradual Approach
a. Initial Heating: Activate the heating power supply and initiate a gradual, even heating process for both the head and the extruder.
b. Cooling and Vacuum Activation: Open the cooling water valves for the feed hopper bottom and gearbox, as well as the inlet valve for the vacuum pump.
c. Temperature Ramp-Up: As the heating progresses, gradually increase the temperature in each section to 140°C. Maintain this temperature for 30-40 minutes, allowing the machine to reach a stable state.
d. Production Temperature Transition: Elevate the temperature further to the desired production levels. Maintain this temperature for approximately 10 minutes to ensure uniform heating throughout the machine.
e. Soaking Period: Allow the machine to soak at the production temperature for a period specific to the extruder type and plastic material. This soaking period ensures that the machine reaches a consistent thermal equilibrium, preventing discrepancies between the indicated and actual temperatures.
f. Production Readiness: Once the soaking period is complete, the extruder is ready for production.
Conclusion: A Culture of Prevention
Pre-operation preparation is not merely a checklist; it is a mindset, a commitment to preventive maintenance that safeguards the extruder’s health and ensures consistent, high-quality production. By adhering to these meticulous procedures, you can significantly reduce the risk of malfunctions, minimize downtime, and extend the lifespan of your plastic extruder machine. This, in turn, translates to improved efficiency, reduced production costs, and ultimately, a competitive edge in the plastic profile extrusion industry.
Remember, plastic extrusion process success hinges on meticulous attention to detail at every stage. By prioritizing pre-operation preparation, you lay the foundation for a smooth-running plastic profile extrusion line capable of delivering exceptional results, day in and day out.
Post time: Jun-06-2024


