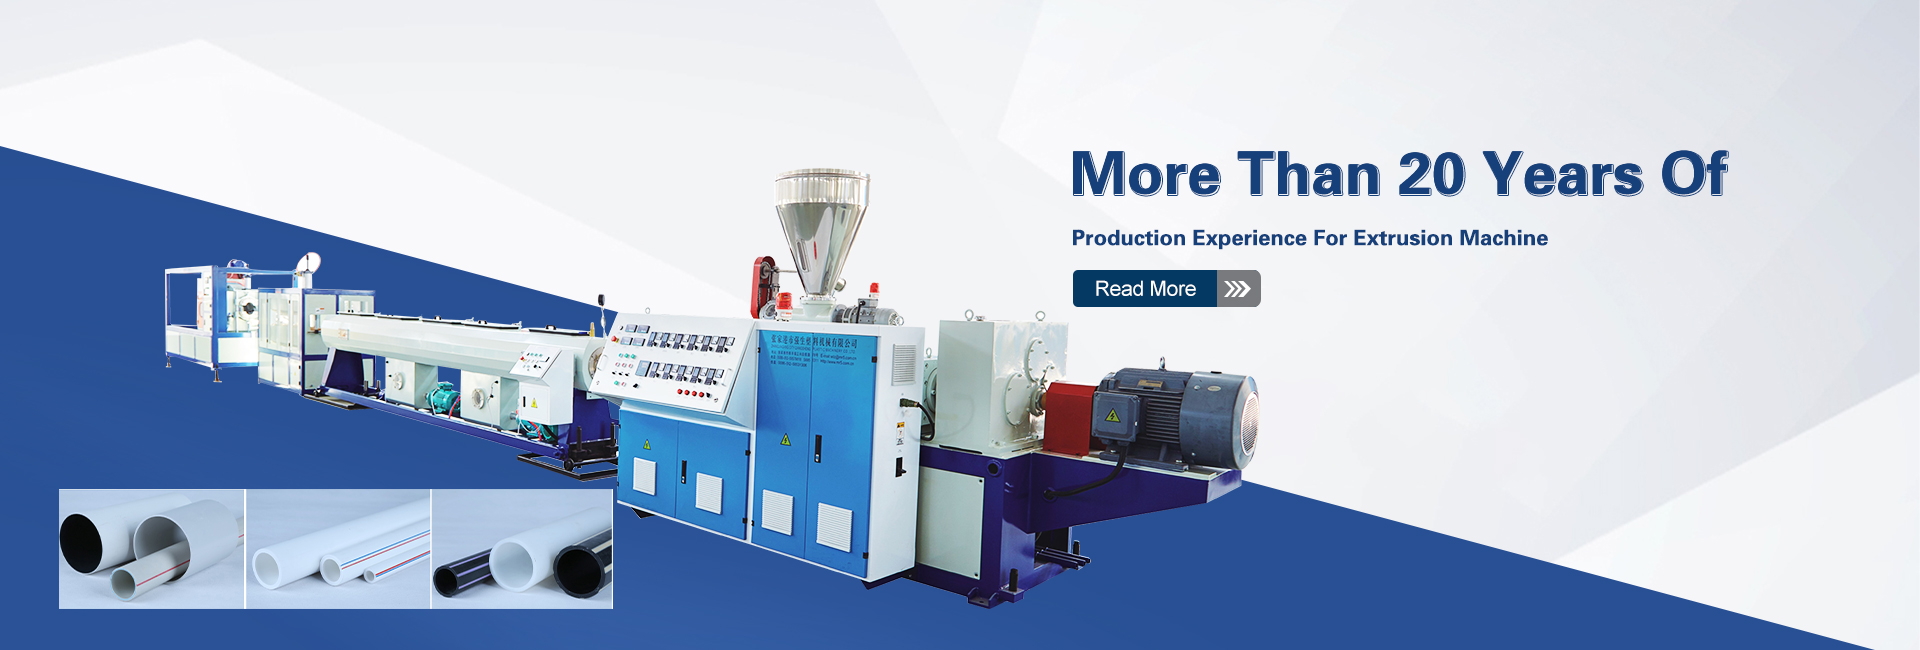
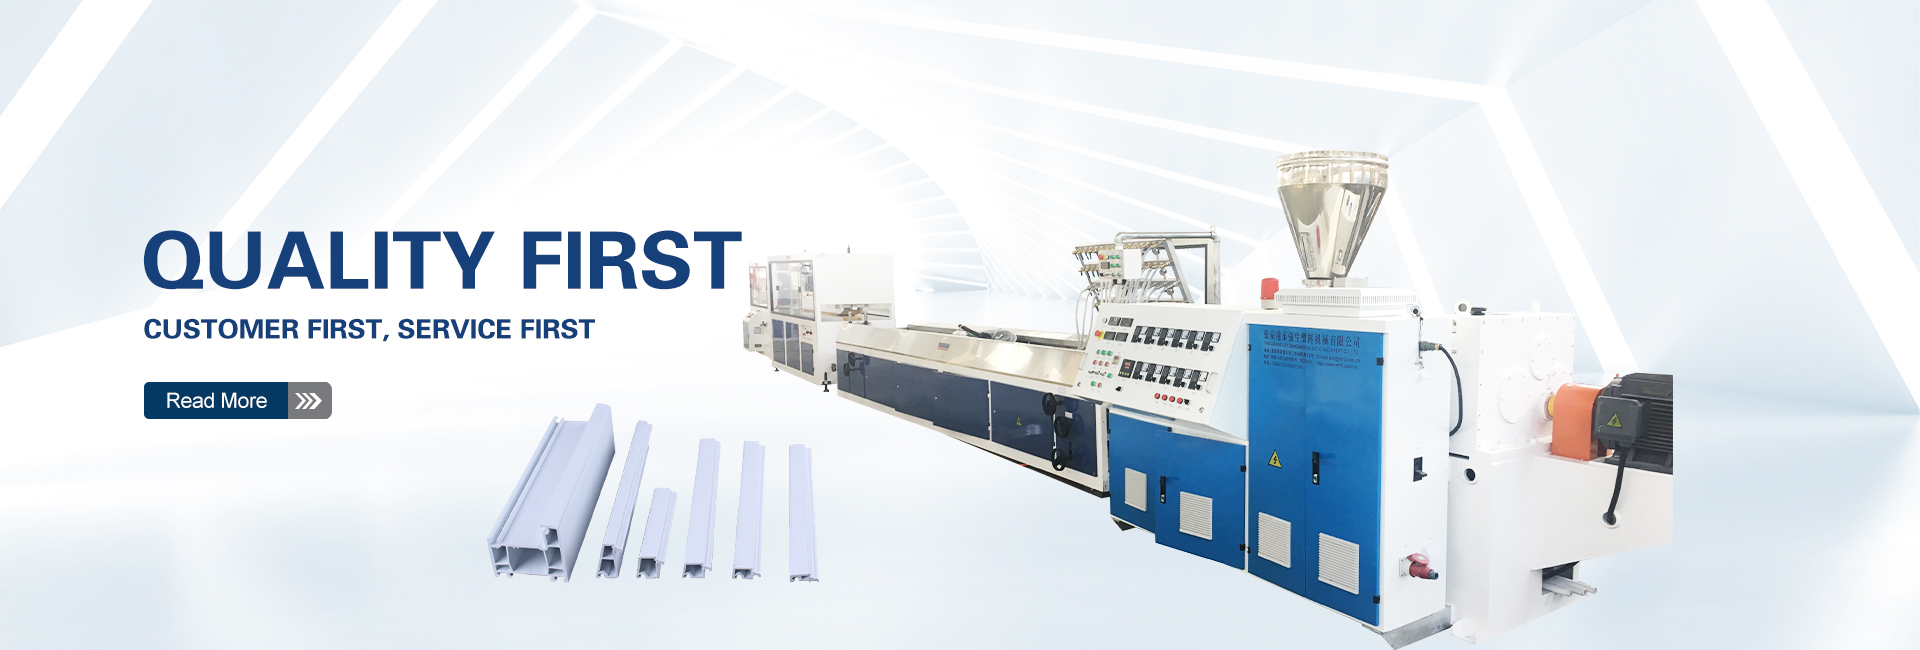
Plastic extruders are essential machinery in the plastics industry, transforming plastic pellets into various shapes. However, like any machine, they are prone to faults that can disrupt production. Understanding and addressing these issues is crucial for maintaining efficient operations. Here’s a comprehensive analysis of common extruder faults and their troubleshooting methods:
1. Main Motor Fails to Start:
Causes:
- Incorrect Startup Procedure: Ensure the startup sequence is followed correctly.
- Damaged Motor Threads or Blown Fuses: Check the motor’s electrical circuit and replace any damaged fuses.
- Activated Interlocking Devices: Verify that all interlocking devices related to the motor are in the correct position.
- Unreset Emergency Stop Button: Check if the emergency stop button is reset.
- Discharged Inverter Induction Voltage: Wait 5 minutes after turning off the main power to allow the inverter induction voltage to dissipate.
Solutions:
- Recheck the startup procedure and initiate the process in the correct sequence.
- Inspect the motor’s electrical circuit and replace any faulty components.
- Confirm that all interlocking devices are functioning properly and not preventing startup.
- Reset the emergency stop button if it’s engaged.
- Allow the inverter induction voltage to discharge completely before attempting to restart the motor.
2. Unstable Main Motor Current:
Causes:
- Uneven Feeding: Check the feeding machine for any issues that could cause irregular material supply.
- Damaged or Improperly Lubricated Motor Bearings: Inspect the motor bearings and ensure they are in good condition and adequately lubricated.
- Inoperative Heater: Verify that all heaters are functioning correctly and heating the material evenly.
- Misaligned or Interfering Screw Adjustment Pads: Check the screw adjustment pads and ensure they are aligned correctly and not causing interference.
Solutions:
- Troubleshoot the feeding machine to eliminate any inconsistencies in material feeding.
- Repair or replace the motor bearings if they are damaged or require lubrication.
- Inspect each heater for proper operation and replace any faulty ones.
- Examine the screw adjustment pads, align them correctly, and check for any interference with other components.
3. Excessively High Main Motor Starting Current:
Causes:
- Insufficient Heating Time: Allow the material to heat up adequately before starting the motor.
- Inoperative Heater: Verify that all heaters are functioning properly and contributing to the material’s preheating.
Solutions:
- Extend the heating time before starting the motor to ensure the material is sufficiently plasticized.
- Check each heater for proper operation and replace any faulty ones.
4. Obstructed or Irregular Material Discharge from the Die:
Causes:
- Inoperative Heater: Confirm that all heaters are functioning correctly and providing uniform heat distribution.
- Low Operating Temperature or Wide and Unstable Molecular Weight Distribution of Plastic: Adjust the operating temperature as per material specifications and ensure the plastic’s molecular weight distribution is within acceptable limits.
- Presence of Foreign Objects: Inspect the extrusion system and die for any foreign materials that could be obstructing the flow.
Solutions:
- Verify that all heaters are operating properly and replace any faulty ones.
- Review the operating temperature and adjust it as needed. Consult with process engineers if necessary.
- Thoroughly clean and inspect the extrusion system and die to remove any foreign objects.
5. Abnormal Noise from the Main Motor:
Causes:
- Damaged Motor Bearings: Inspect the motor bearings for signs of wear or damage and replace them if necessary.
- Faulty Silicon Rectifier in the Motor Control Circuit: Check the silicon rectifier components for any defects and replace them if required.
Solutions:
- Replace the motor bearings if they are damaged or worn out.
- Inspect the silicon rectifier components in the motor control circuit and replace any faulty ones.
6. Excessive Heating of Main Motor Bearings:
Causes:
- Insufficient Lubrication: Ensure the motor bearings are adequately lubricated with the appropriate lubricant.
- Severe Bearing Wear: Inspect the bearings for signs of wear and replace them if necessary.
Solutions:
- Check the lubricant level and add more if needed. Use the recommended lubricant for the specific motor bearings.
- Inspect the bearings for signs of wear and replace them if they are severely worn.
7. Fluctuating Die Pressure (Continued):
Solutions:
- Troubleshoot the main motor control system and bearings to eliminate any causes of speed inconsistencies.
- Inspect the feeding system motor and control system to ensure a steady feeding rate and eliminate fluctuations.
8. Low Hydraulic Oil Pressure:
Causes:
- Incorrect Pressure Setting on Regulator: Verify that the pressure regulating valve in the lubrication system is set to the appropriate value.
- Oil Pump Failure or Clogged Suction Pipe: Inspect the oil pump for any malfunctions and ensure the suction pipe is clear of any obstructions.
Solutions:
- Check and adjust the pressure regulating valve in the lubrication system to ensure proper oil pressure.
- Inspect the oil pump for any issues and repair or replace it if necessary. Clean the suction pipe to remove any blockages.
9. Slow or Malfunctioning Automatic Filter Changer:
Causes:
- Low Air or Hydraulic Pressure: Verify that the air or hydraulic pressure powering the filter changer is adequate.
- Leaking Air Cylinder or Hydraulic Cylinder: Check for leaks in the air cylinder or hydraulic cylinder seals.
Solutions:
- Inspect the power source for the filter changer (air or hydraulic) and ensure it’s providing sufficient pressure.
- Examine the air cylinder or hydraulic cylinder seals for leaks and replace them if necessary.
10. Sheared Safety Pin or Key:
Causes:
- Excessive Torque in the Extrusion System: Identify the source of excessive torque within the extrusion system, such as foreign materials jamming the screw. During initial operation, ensure proper preheating time and temperature settings.
- Misalignment Between Main Motor and Input Shaft: Check for any misalignment between the main motor and the input shaft.
Solutions:
- Stop the extruder immediately and inspect the extrusion system for any foreign objects causing the jam. If this is a recurring issue, review the preheating time and temperature settings to ensure proper material plasticization.
- If misalignment is identified between the main motor and the input shaft, realignment is necessary to prevent further shearing of safety pins or keys.
Conclusion
By understanding these common extruder faults and their troubleshooting methods, you can maintain efficient production and minimize downtime. Remember, preventative maintenance is crucial. Regularly inspecting your extruder, adhering to proper lubrication schedules, and using high-quality materials can significantly reduce the occurrence of these faults. If you encounter a problem beyond your expertise, consulting a qualified extruder technician is always recommended.
Post time: Jun-04-2024


